We’ve all been there: you buy a set of Venetian blinds, eager to spruce up your window, only to realize they’re an inch too wide. Or maybe you scored a great deal on a floor model, but it’s way longer than your window recess. The thought of cutting them yourself can feel daunting—one wrong snip, and you’ve ruined a perfectly good window treatment. But here’s the truth: cutting Venetian blinds doesn’t require advanced DIY skills or fancy tools. With the right approach, a little caution, and this hands-on guide, you can trim your blinds to fit any window like a custom-made piece.
The biggest mistakes people make when cutting Venetian blinds stem from rushing, using the wrong tools, or misunderstanding the structure of the blinds. Whether you’re working with aluminum Venetian blinds, wooden Venetian blinds, or the popular cordless Venetian blinds, the core process is similar—but there are key differences to note. This guide will walk you through how to measure for cuts, choose the right tools, trim both width and length safely, and fix common mishaps. Plus, we’ll answer your most pressing questions to take the guesswork out of the process.
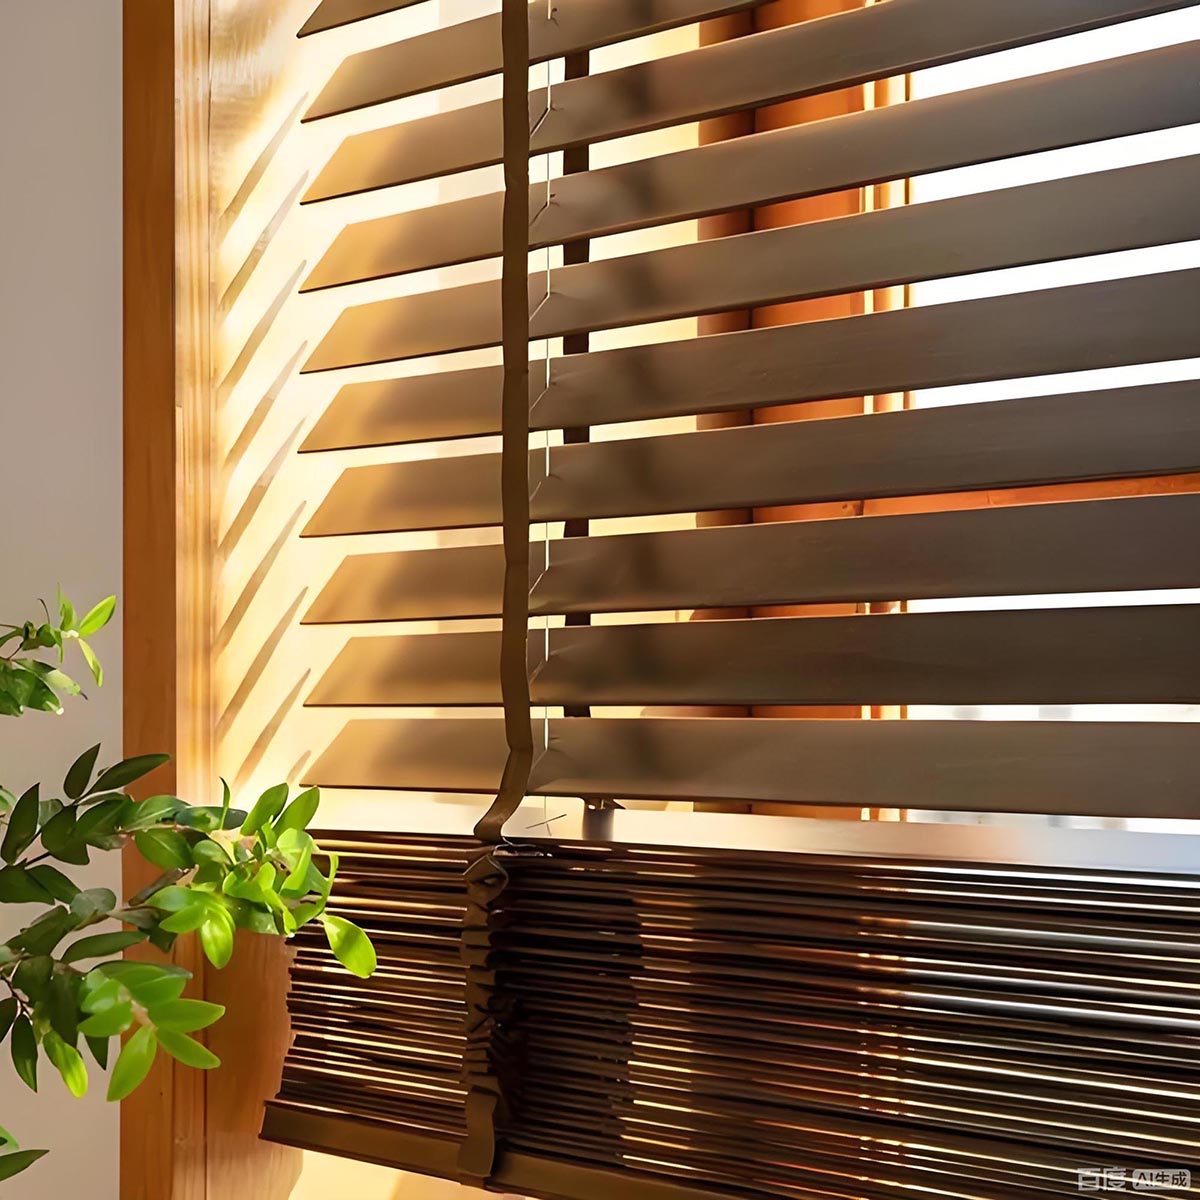
Understand Your Venetian Blinds (Don’t Cut Blindly!)
Before you grab a saw or scissors, take 5 minutes to examine your Venetian blinds. Knowing what materials you’re working with and how the blinds are constructed will save you from costly mistakes. Most Venetian blinds consist of three main parts: the slats (the horizontal pieces), the headrail (the top piece that holds the mechanism), and the bottom rail (the weighted piece that keeps the blinds straight).
Aluminum Venetian blinds are the easiest to cut—they’re lightweight and respond well to basic tools like a hacksaw or tin snips. Wooden or faux-wood Venetian blinds require a bit more care; you’ll need a fine-tooth saw to avoid splintering the slats. Cordless Venetian blinds add another layer of consideration, as you’ll need to avoid damaging the internal spring mechanism in the headrail.
Pro tip: Never cut the headrail or bottom rail until you’ve trimmed the slats first. The slats are more forgiving, and getting their length/width right will guide your cuts on the sturdier rails. Also, always work on a flat, stable surface (like a workbench or even the floor with a towel) to keep the blinds aligned as you cut.

Tools You’ll Need (No Fancy Gear Required)
You don’t need to invest in a toolbox full of specialty equipment to cut Venetian blinds. Gather these items before you start, and you’ll have everything you need for a smooth process:
• Your Venetian blinds (fully extended to check alignment)
• Metal tape measure (for precise measurements—fabric tape measures stretch!)
• Pencil or marker (to mark cut lines; use a pencil for wood/faux wood to erase mistakes)
• Straightedge (a ruler, level, or even a piece of cardboard to draw straight lines)
• Hacksaw (for aluminum headrails/bottom rails; choose a fine-tooth blade)
• Tin snips (alternate for aluminum slats—faster than a hacksaw for thin metal)
• Fine-tooth handsaw or miter saw (for wooden/faux-wood blinds; avoid serrated blades that splinter)
• Sandpaper (120-grit for smoothing edges, especially important for wood blinds)
• Masking tape (to cover cut lines on wood slats—prevents splintering)
• Safety goggles (to protect your eyes from metal shavings or wood dust)
• Gloves (optional, but helpful for handling sharp aluminum edges)
Skip the power tools unless you’re experienced—a handsaw or hacksaw gives you more control, which is crucial for straight cuts. Most home improvement stores sell affordable tool kits that include all these items, so you won’t break the bank.
How to Measure for Cutting (Measure 3 Times, Cut Once!)
Incorrect measurements are the #1 reason DIY blind cuts go wrong. Even a 1/4-inch error can leave your blinds too tight to fit in the recess or too loose with unsightly gaps. Follow these steps to measure accurately, whether you’re cutting width or length.
• Measuring for Width Cuts
Width cuts are needed when your blinds are too wide for the window recess (inside mount) or when you want a snug fit for outside mount. Here’s how to get it right:
1. For inside mount: Measure the width of the window recess at the top, middle, and bottom. Use the smallest measurement—this ensures the blinds fit without getting stuck. Subtract 1/8 inch from this measurement to account for clearance (blinds need a little room to move freely).
2. For outside mount: Measure the width of the area you want the blinds to cover, then subtract the width of your current blinds. This tells you how much to cut off.
3. Mark the measurement on the blinds: Lay the blinds flat, and use your straightedge to draw a straight line across the slats, headrail, and bottom rail. For aluminum blinds, mark both sides of the rail to ensure a straight cut. For wood blinds, wrap masking tape around the area to be cut and mark the line on the tape—this prevents splintering.
• Measuring for Length Cuts
Length cuts are simpler than width cuts, but they still require precision—especially for corded or cordless Venetian blinds. Here’s the process:
1. Hang the blinds temporarily in the window (you don’t need to fully install them). Lower them to the desired length—leave 1/2 inch of space between the bottom rail and the windowsill to avoid friction.
2. Mark the slats: Pick a slat that’s 2–3 inches above the desired length (this gives you room to reattach the bottom rail). Use a pencil to mark this slat—this is where you’ll cut the slats and cords.
3. For cordless blinds: Locate the internal cords (they run through the slats to the spring mechanism). Mark where these cords exit the slats—you’ll need to trim the cords to match the new length.

Step-by-Step Guide to Cutting Venetian Blinds
Now that you’ve measured and marked, it’s time to cut. We’ll break this down by material (aluminum vs. wood) and by cut type (width vs. length) to keep it simple. Take your time—rushing leads to crooked cuts and damaged blinds.
• Cutting Aluminum Venetian Blinds
Aluminum blinds are the most beginner-friendly to cut. Follow these steps for clean, straight cuts:
1. Trim the slats first: Lay the blinds flat, and use tin snips to cut along the marked line across all slats. Cut slowly and keep the snips perpendicular to the slats to avoid bending them. If the slats bend slightly, gently straighten them with your fingers.
2. Cut the headrail: Wrap the headrail with masking tape to prevent scratching. Use a hacksaw to cut along the marked line—saw in short, smooth strokes to avoid jagged edges.
3. Cut the bottom rail: Repeat the process for the bottom rail. After cutting, use sandpaper to smooth any sharp edges (this prevents cuts when handling the blinds).
4. Reassemble (if needed): If you removed the end caps from the headrail/bottom rail, snap them back into place. For corded blinds, rethread the cords through the new slat length (we’ll cover this in the length cut section).
• Cutting Wooden/Faux-Wood Venetian Blinds
Wood and faux-wood blinds require extra care to avoid splintering. Here’s how to get a clean cut:
1. Prepare the slats: Wrap masking tape tightly around each slat along the marked cut line. The tape holds the wood fibers in place, preventing splintering.
2. Cut the slats: Use a fine-tooth handsaw or miter saw to cut along the line. Saw slowly and in the direction of the wood grain (for real wood blinds) to minimize damage.
3. Cut the headrail/bottom rail: These are usually made of wood or composite. Wrap them in tape, then saw along the marked line. For faux wood (PVC), a hacksaw works too—just avoid applying too much pressure.
4. Smooth the edges: Use 120-grit sandpaper to sand the cut edges until they’re smooth. Wipe away dust with a damp cloth.
5. Touch up (optional): For real wood blinds, apply a small amount of wood stain or paint to the cut edges to match the rest of the blinds.
• Cutting Length for Corded/Cordless Venetian Blinds
Trimming the length is a bit different because you have to deal with the lift cords or internal mechanism. Here’s how to do it without ruining the functionality:
For Corded Blinds:
1. Remove the bottom rail caps: These cover the cord anchors. Use a screwdriver to pry them off gently.
2. Release the cords: Unthread the cords from the bottom rail anchors. Cut the slats at the marked line (following the material-specific steps above).
3. Trim the cords: Cut the cords 6–8 inches below the new slat length (you’ll need extra to reattach them).
4. Reattach the bottom rail: Thread the cords back through the bottom rail holes, tie a secure knot (use a double knot to prevent slipping), and replace the end caps.
5. Test the lift: Pull the cords to ensure the blinds lift smoothly and the bottom rail hangs straight.
For Cordless Venetian Blinds:
1. Locate the internal cords: These are hidden inside the slats and connected to the spring mechanism in the headrail.
2. Cut the slats: Follow the material steps to cut the slats at the marked line. Be careful not to cut the internal cords—use a utility knife to score the slats first if needed.
3. Adjust the internal cords: Most cordless blinds have a small access panel in the headrail. Open it, and trim the internal cords to match the new slat length (leave 1 inch extra to reattach to the bottom rail).
4. Reattach the bottom rail: Secure the internal cords to the bottom rail anchors, then snap the rail back into place.
5. Test the mechanism: Lift and lower the blinds several times to ensure the spring works smoothly. If it’s stiff, gently adjust the internal cords for even tension.
Common Mistakes to Avoid (Save Yourself from Headaches)
Even with careful measuring, it’s easy to make small mistakes that ruin your blinds. Here are the most common pitfalls and how to steer clear of them:
1. Cutting too much: Always subtract 1/8 inch less than you think you need—you can trim more later, but you can’t add material back. When in doubt, cut conservatively.
2. Using the wrong blade: A serrated blade on wood blinds causes splintering; a dull blade on aluminum blinds bends the rails. Invest in a sharp, fine-tooth blade for best results.
3. Ignoring the headrail mechanism: For cordless or motorized blinds, the headrail contains sensitive parts. Never cut the headrail without checking where the mechanism is—shift the mechanism if needed before cutting.
4. Not aligning the slats: If the slats are crooked when you cut, the blinds will hang unevenly. Use a clamp to hold the slats together before cutting to keep them aligned.
5. Skipping sanding: Sharp edges on aluminum blinds can cut you; rough edges on wood blinds look unprofessional. Always sand cut edges before installing.
Your Venetian Blinds Cutting Questions Answered
We’ve compiled the most common questions we get about cutting Venetian blinds to help you feel confident in your project. These are the questions DIYers ask most—and the answers that will save you time and frustration.
Q: Can I cut motorized Venetian blinds myself?
A: It’s possible, but proceed with caution. Motorized blinds have a built-in motor in the headrail, so you’ll need to avoid cutting through the motor or its wiring. First, check the manufacturer’s instructions—some motorized blinds have removable end caps that let you trim the headrail without touching the motor. If you’re unsure, it’s safer to have a professional cut them—damaging the motor will void your warranty.
Q: How do I fix a crooked cut on my Venetian blinds?
A: For minor crookedness (less than 1/4 inch), use sandpaper to smooth the edge and adjust the line. For more severe mistakes, you may need to cut a little more off to straighten the line—just remember to measure again first. If the cut ruins the headrail mechanism, contact the manufacturer for a replacement headrail (many sell them separately).
Q: Can I cut both width and length of the same Venetian blinds?
A: Yes! Just cut the width first, then the length. Cutting width changes the overall size of the blinds, so measuring for length after width ensures accuracy. For corded blinds, you’ll need to rethread the cords after both cuts—take photos before disassembling to remember how they’re routed.
Q: Is it cheaper to cut Venetian blinds myself or buy custom ones?
A: Cutting yourself is almost always cheaper. Custom Venetian blinds can cost 2–3 times more than standard blinds, especially for wood or cordless styles. If you’re on a budget, buying standard blinds and trimming them is a great way to get a custom fit without the custom price tag. Just factor in the cost of tools if you don’t already have them.
Q: Can I cut faux-wood Venetian blinds the same way as real wood?
A: Mostly, but faux wood (PVC or composite) is more durable and less prone to splintering. You can use a hacksaw or fine-tooth saw for faux wood, and masking tape is optional (but still helpful for straight lines). Avoid using excessive heat when cutting—faux wood can melt if the saw blade gets too hot.
Cutting Venetian blinds at home is a rewarding DIY project that lets you get the perfect fit for your windows without overspending. The key is to take your time, measure carefully, and use the right tools for your blind material. Whether you’re trimming aluminum blinds for your kitchen or customizing wooden blinds for your bedroom, this guide gives you the skills to do it right.
Remember, practice makes perfect—if you’re nervous, start with a cheaper set of blinds to get the hang of it. And don’t be afraid to make small adjustments as you go—even experienced DIYers tweak their cuts for the best fit.
Have you ever cut Venetian blinds yourself? Did you learn any helpful tricks, or run into a problem that taught you a lesson? Share your experiences in the comments below—we’d love to hear your tips!
Post time: Feb-24-2026